Attic Ventilation Calculator: How to Estimate Ventilation Needs
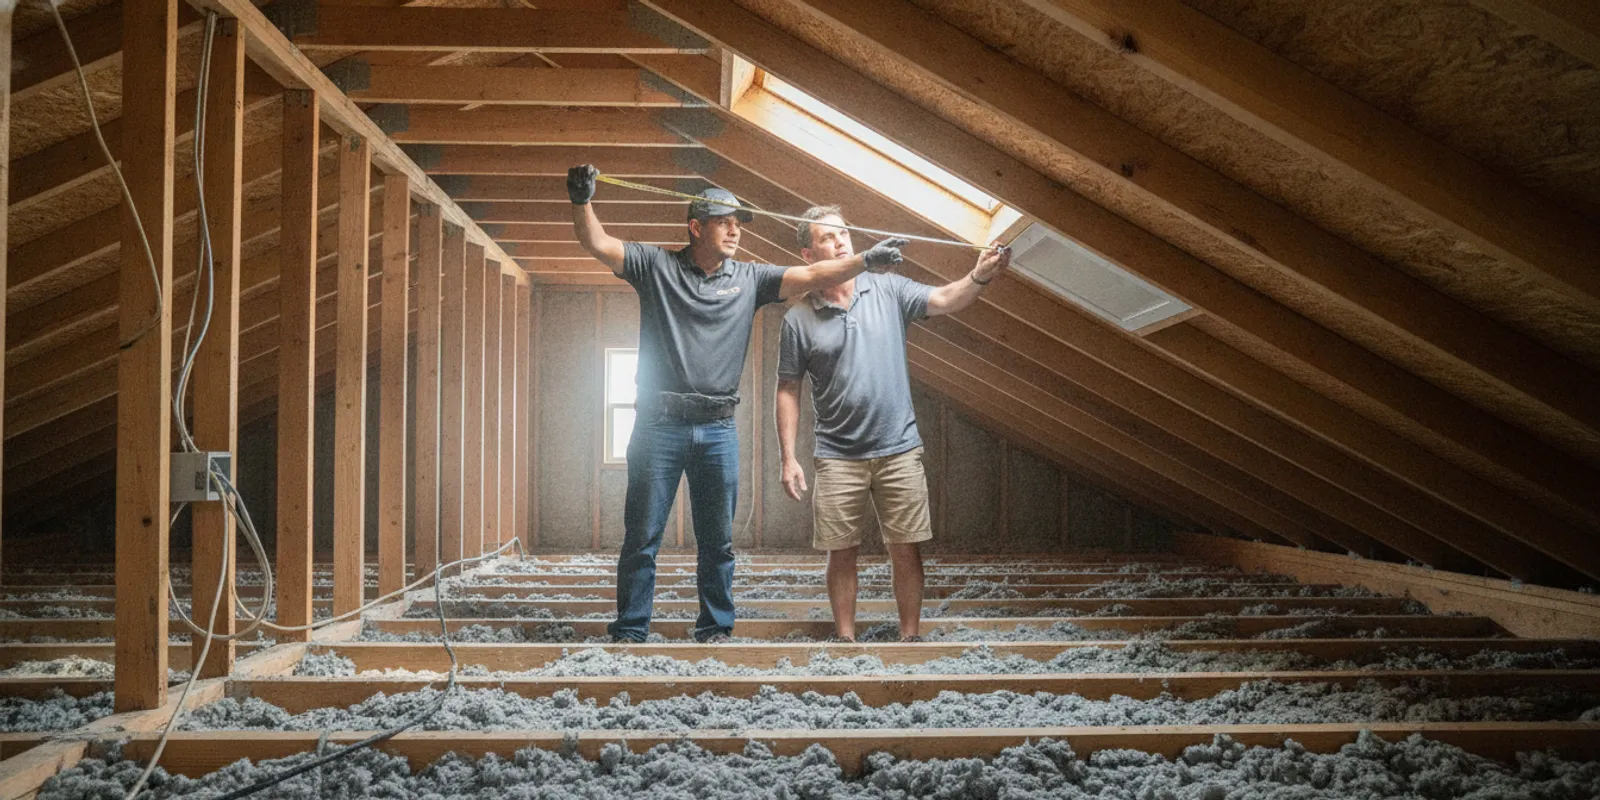
An attic ventilation calculator can help you estimate how much vent opening a vented attic may need, but the result is only a starting point. The right estimate depends on attic floor area, the amount of net free vent area, and whether air can enter low and leave high without obstructions. For Houston homeowners, heat and humidity make it especially useful to understand the basics before deciding whether an attic needs attention.
Book Now or Get a Quote — Request a Free Estimate
This guide walks through a simple estimate, explains how to read vent labels, and shows where an area calculation can mislead. It does not replace local code review, manufacturer instructions, or an on-site assessment. The purpose is to help you ask better questions about the attic, not certify a design.
What does an attic ventilation calculator estimate?
A basic calculator estimates the required net free vent area (NFVA) for an attic. NFVA is the effective opening through which air can pass after accounting for screens, louvers, and other restrictions. It is not necessarily the same as a vent’s outside dimensions. A vent that measures 12 inches across may have a smaller NFVA listed by its manufacturer.
Many simple estimates use a 1:300 ratio: one square foot of net free vent area for every 300 square feet of attic floor area, when the attic and vent arrangement meet the assumptions for using that ratio. Some standards or situations call for a different ratio, and local requirements may differ. The Building America Solution Center explains how to calculate passive attic ventilation and illustrates the assumptions behind the method. Check its guide to calculating attic passive ventilation for additional detail.
The estimate is about vent openings, not the quantity of insulation or the overall quality of an attic. If insulation is blocking the soffits, if the roof shape creates isolated pockets, or if the existing vents are damaged, the math alone will not describe how air actually moves.
How do you estimate the required vent area?
Start with the attic floor footprint, not the sloped roof surface. For a simple rectangular attic, multiply the length by the width. For an L-shaped or irregular plan, divide the floor into rectangles, calculate each area, and add the results. Do not include a garage or other section unless it is part of the same attic space and ventilation system.
- Measure the attic floor area. Use a floor plan or exterior house dimensions as an initial approximation. If the roof covers several wings or additions, calculate each section separately.
- Choose the applicable ventilation ratio. Use 1:300 only when the attic configuration and applicable requirements permit it. If uncertain, treat it as an educational estimate and have the local requirement confirmed.
- Calculate total NFVA. Divide the attic floor area in square feet by the denominator in the ratio. For a 1:300 estimate, total NFVA in square feet = attic floor area ÷ 300.
- Convert square feet to square inches. Multiply the result in square feet by 144, since one square foot contains 144 square inches.
- Plan for both intake and exhaust. As a practical starting point, many balanced systems divide the total roughly between low intake and high exhaust. Confirm the required balance and placement for the specific design and vent products.
Example: Assume a simple attic footprint of 1,500 square feet and use the 1:300 method strictly as an illustration. The total estimated NFVA is 1,500 ÷ 300 = 5 square feet, or 720 square inches. A roughly balanced split would be 360 square inches of low intake and 360 square inches of high exhaust. These figures are not a prescription for a particular home. The correct ratio, vent capacity, placement, and attic configuration must be checked before work is planned.
For other ratios, the same arithmetic applies. For example, a 1:150 estimate doubles the total vent area compared with 1:300 for the same attic footprint. Do not switch between ratios simply to reach a preferred number; first verify which rule applies. The PNNL attic assessment guide describes documenting existing attic conditions, including the number and size of vents, as part of an evaluation.
How do you read the calculator result?
A calculator produces a target total area. It does not tell you how many products to buy until you know each vent’s rated NFVA and whether the current system is usable. Compare ratings in consistent units, and rely on the manufacturer’s stated NFVA rather than the exterior dimensions.
| Check | What to record | Why it matters |
|---|---|---|
| Attic floor area | Length × width, or sum of measured sections | Sets the starting area for the estimate |
| Applicable ratio | Ratio specified by the applicable rule or confirmed for the project | Changes the calculated total NFVA |
| Vent rating | Manufacturer-listed NFVA per vent, in square inches | Shows effective opening, not just the vent’s dimensions |
| Intake capacity | Combined NFVA of unobstructed low vents | Checks whether replacement air can enter |
| Exhaust capacity | Combined NFVA of high vents | Checks the outlet side and the balance of the system |
| Condition and airflow path | Blockages, damaged screens, insulation contact, and separated spaces | Identifies issues an arithmetic result cannot reveal |
For instance, if a product is rated at 50 square inches of NFVA, a rough count based on the example’s 360 square-inch intake target would be 360 ÷ 50 = 7.2 units. That arithmetic does not mean you should install eight vents. The actual product mix, roof structure, existing openings, location, and code requirements matter. A vent’s usable capacity can also be affected by installation details or blockage.
Keep intake and exhaust totals separate in your notes. A high exhaust total does not automatically make up for inadequate intake. Likewise, adding more exhaust openings without understanding the existing airflow path may not solve the issue and can change how air moves through the attic. The overview of attic ventilation offers more context on how the parts work together.
Why do intake and exhaust need to work together?
In a conventional vented attic, intake openings are typically low on the roof assembly, often at the eaves or soffits. Exhaust openings are located higher, such as near the ridge or roof peak. The arrangement is intended to support a continuous path from the lower openings toward the higher ones. The exact design varies by roof and vent system.
Airflow can be restricted even when the total vent area appears sufficient on paper. Common issues to check include:
- Blocked soffit openings: Insulation may cover or crowd the intake path. Baffles help preserve a passage at the eaves in suitable assemblies, but their presence and condition need to be confirmed.
- Uneven distribution: Vents concentrated in one part of a roof may not serve separate attic sections equally.
- Competing vent types: Different high vents placed close together can affect the intended path. A professional should assess how the existing vents interact before adding or changing them.
- Obstructions or damage: Debris, paint, nests, damaged screens, or deteriorated components can reduce effective opening.
- Air leaks from the house: Openings around ceiling penetrations can allow indoor air to enter the attic. Ventilation and air sealing are related but distinct parts of an attic review.
Do not enter an attic or climb onto a roof unless you can do so safely. Attics can have exposed nails, fragile ceiling material, wiring, pests, and extreme heat. A visual review from accessible areas may reveal a concern, but it cannot establish the complete condition of hidden or hard-to-reach spaces.
What can make the estimate inaccurate?
The simple formula assumes you have identified the right area and applicable ratio. Real roofs can be more complicated. A home may have several attic zones separated by framing, additions, or changes in roof height. A hip roof, dormer, or vaulted section can create spaces that do not share the same airflow path. Calculating one combined number for distinct zones can mask a shortage in one area and an excess in another.
Also consider the difference between gross opening and NFVA. Screens and louvers reduce the open area available for airflow, so counting the visible face of a vent can overstate its effective capacity. Product labels may list NFVA per unit or per linear foot; follow the unit carefully. If no reliable rating is available, do not guess based on appearance.
Finally, the calculator does not diagnose why rooms are uncomfortable, why energy use is high, or whether insulation is damaged. Those symptoms can have more than one cause. Insulation depth and condition, air leakage, duct location, roof details, and ventilation are separate factors to evaluate. Use the site’s attic assessment and service process to understand what a home review can cover, and see the guide to where insulation may be needed for a broader look at insulation locations.
How should Houston homeowners use an attic ventilation calculator?
Houston weather makes attic conditions a familiar concern, but a ventilation ratio does not change based on a homeowner’s discomfort alone. Start by writing down what you observe: unusually warm rooms, visible damage, evidence of pests, or a blocked eave area. Note the attic’s approximate footprint and the types and locations of visible vents. Avoid treating one hot afternoon or a single utility bill as proof that ventilation is the cause.
Then compare the estimate with what can actually be seen. Are the low openings present? Are they clear? Is there an apparent high exhaust path? Are there separate attic sections? Do not assume that adding vents will fix a comfort concern. Ventilation must be considered with the roof structure, insulation, and air leakage.
For trustworthy context, consult a qualified professional who can inspect the attic and confirm which requirements apply. The Building America Solution Center’s attic ventilation information guides provide background on mechanical and passive approaches, but a web guide cannot evaluate a particular house. EZ Attic Insulation is locally and family-owned, 100% certified and insured, and serves Greater Houston. Hablamos Español!
If you are comparing projects, ask the assessor to explain the attic’s measured area, the ratio used, each vent’s NFVA, the intake/exhaust balance, and any blockage or airflow-path concern. A clear explanation should distinguish what was measured from what is estimated and identify what would need further inspection. For more general reading, browse the company’s attic insulation tips and guides.
Book Now or Get a Quote — Request a Free Estimate
Frequently asked questions about attic ventilation estimates
Can I use the 1:300 ratio for every attic?
No. It is a common starting method, not a universal rule. The right ratio depends on applicable requirements and attic details. Verify the appropriate method for your home before treating the result as a project specification.
Should intake and exhaust be exactly equal?
A roughly balanced split is a useful concept for an initial estimate, but it is not a substitute for a design requirement. The vent system, product ratings, roof geometry, and local rules affect the final balance. Record intake and exhaust separately and ask a qualified professional to review them.
Does more attic ventilation always mean a cooler house?
No. Ventilation is only one part of attic and home performance. Blocked airflow, air leaks, insulation condition, ducts, and other details can influence comfort. A calculator cannot determine which factor is responsible in a specific home.
Do I calculate ventilation from roof surface area?
For the simple ratio method described here, use the attic floor footprint rather than the sloped roof surface. Complex roof shapes or separate attic zones may need to be assessed individually instead of combined into one rough number.
Can I use a calculator to decide how many vents to install?
Use it to prepare questions, not to make an installation plan on its own. You would also need verified NFVA ratings, a suitable location and airflow path, and confirmation of applicable requirements. An on-site review can check conditions the calculator cannot see.
Ready to review your attic ventilation and insulation?
A calculator can help organize the first questions: how large is the attic, what ratio is appropriate, and how much rated intake and exhaust area is already present? The next step is to confirm the assumptions against the actual attic, including any blocked or separated areas. A careful attic review can help you understand what is measured, what remains uncertain, and which next step makes sense for your home.